Studio notes: Paper on wood – how does it work?

The moment of truth has arrived. Carefully, I take one book after another from the stack. Beneath the books, stacked to weigh them down, lie two wooden panels onto which I have mounted two ‘Flow’ pieces. Something I’ve never done before! And I finally want to know whether it’s worked.

What’s happened so far
A week earlier: In front of me lie two mixed-media pieces on wavy paper. It’s common for paper to curl after being painted, especially with very wet paints. And usually, it annoys me. But today I’m in good spirits because I’ve decided to solve this problem – not just by smoothing out the paper, but also by trying to mount it onto wood.
The process involves several steps and various drying phases in between. I’m raring to go and know I’ll need patience.
To smooth out the paper, it’s moistened on the reverse side and pressed for four days. The hardest part is not being allowed to check how it’s coming along, so as not to jeopardise the process.

During this time, I prepare the wooden panels. First, I sand them down and mask off the edges. Then they need to be coated several times. And, of course, these coats need to dry as well. So I set aside a little time each day to complete the individual steps.


Only once all that is done can I carefully place the papers onto the panels – and then leave them to be pressed for another day.
The anticipation is building
So it’s no wonder I’m so excited now. When I finally lift the last book and take a first look at the paper-covered panels, I’m – – relieved! The paper is smooth; I can’t see any air bubbles or anything like that. To be honest, on my first attempt, I’d expected it to turn out less well.
I turn my attention to the final steps – trimming off the excess paper and sanding down the edges.

Both go quite well, and at last I’m holding my first two paper works on wood in my hands.
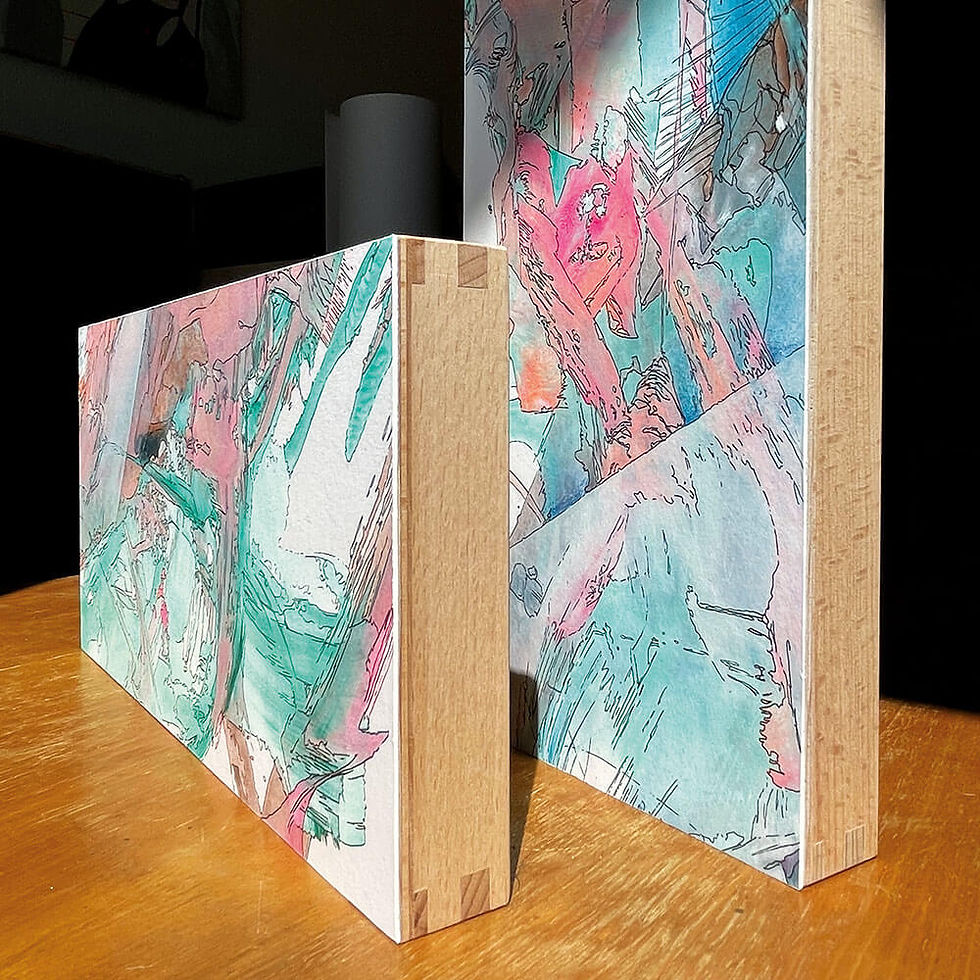
A word of warning: anyone who wants to try this themselves should read up on it thoroughly beforehand, start by working only with test designs, and seal the pieces with fixative and/or varnish to ensure nothing goes wrong.
The craft of art
Generally speaking, I’m constantly surprised by just how much craftsmanship goes into art. By that I mean all those steps that have nothing to do with the actual creation of the artwork, but are nevertheless necessary to complete it. I visit the DIY store almost as often as I do the art supplies shop.
Knowing (or sensing) just how much manual labour goes into a piece makes it seem immediately more valuable to me. Not just in terms of price, but also in terms of emotional appreciation.
Never stop learning
Time and again, I discover things I don’t yet know and processes I haven’t yet mastered. Learning these can be a bit of a slog now and then, but it’s always worthwhile. I enjoy creating things and, in the end, holding something in my hands that I’ve made myself. This applies not only to the design on paper or canvas, but also to everything surrounding it. At least that way, it never gets boring ;) And what are you going to learn next?
Flow Motifs for sale
You can now find my works from the Flow series in my portfolio. Are you interested in a piece? Then just drop me a line!


Comments